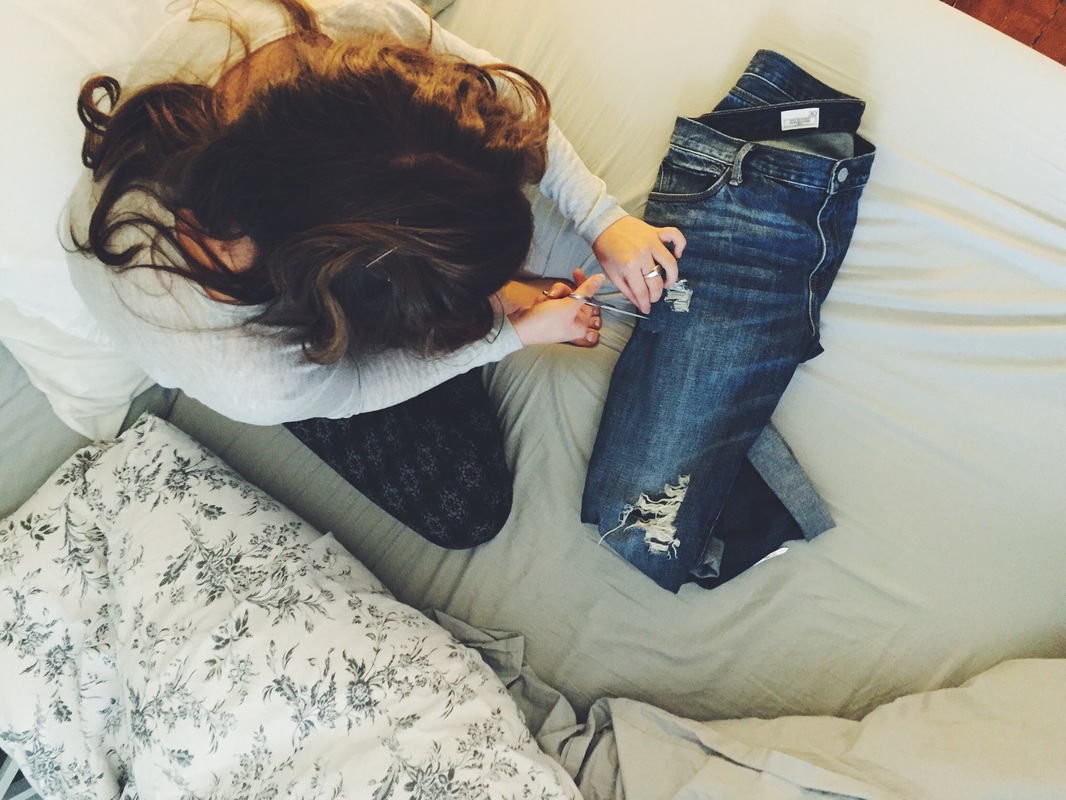
 I wore these ripped boyfriend jeans in "The Perfect Combination" post on Monday. When I first bought these boyfriend jeans they had absolutely no rips in then and honestly looked pretty boring and unflattering. I knew they needed some distressing so I took on the challenge of ripping them myself. I was honestly pretty nervous at first, I didn't want to wreck them or do something wrong aha but they turned out amazing and I am so so happy with them! 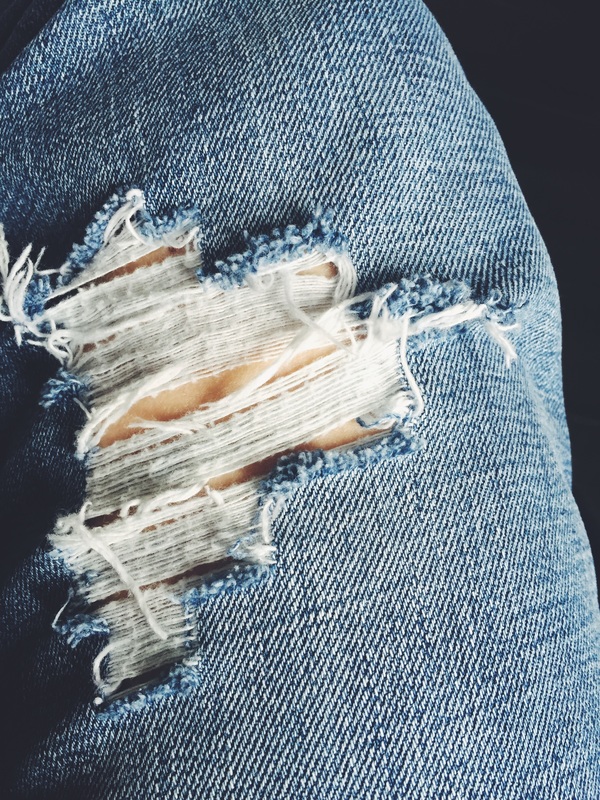 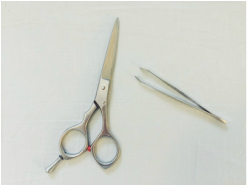 Other then the jeans (obviously), all you will need for this DIY are a pair of sharp scissors and a pair of tweezers. These scissors are actually for trimming hair, but I found that they were very sharp and small enough to make the cuts I needed so I used them! The tweezers can just be any you have lying around your house! 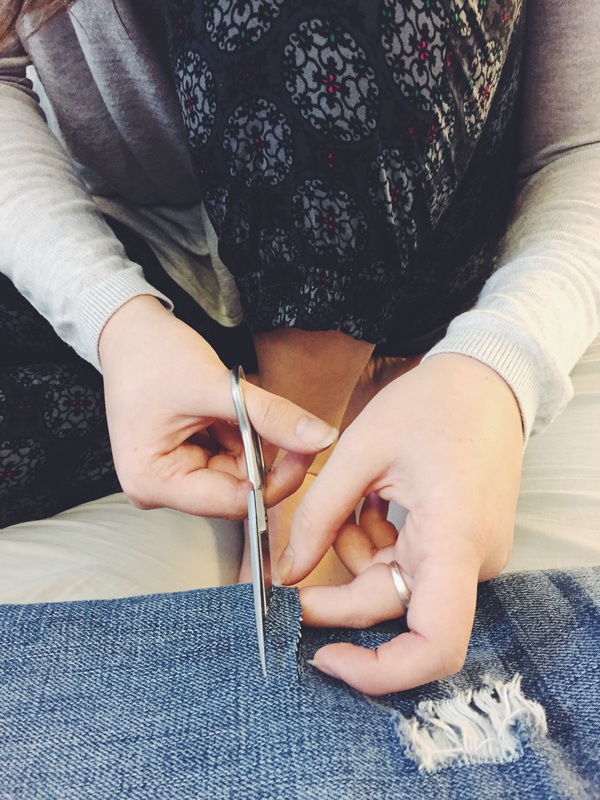 Step 1: Pick the spot in where you want the rip you are going to cut. You may need to put your jeans on first to get a feel for where your knees are and how they fit you. Step 2: Decide how big you want the rip to be and if you want it to be long or short. This may impact where you place other rips! If you want a longer rip you will need to cut a larger number of cuts but make each cut smaller. 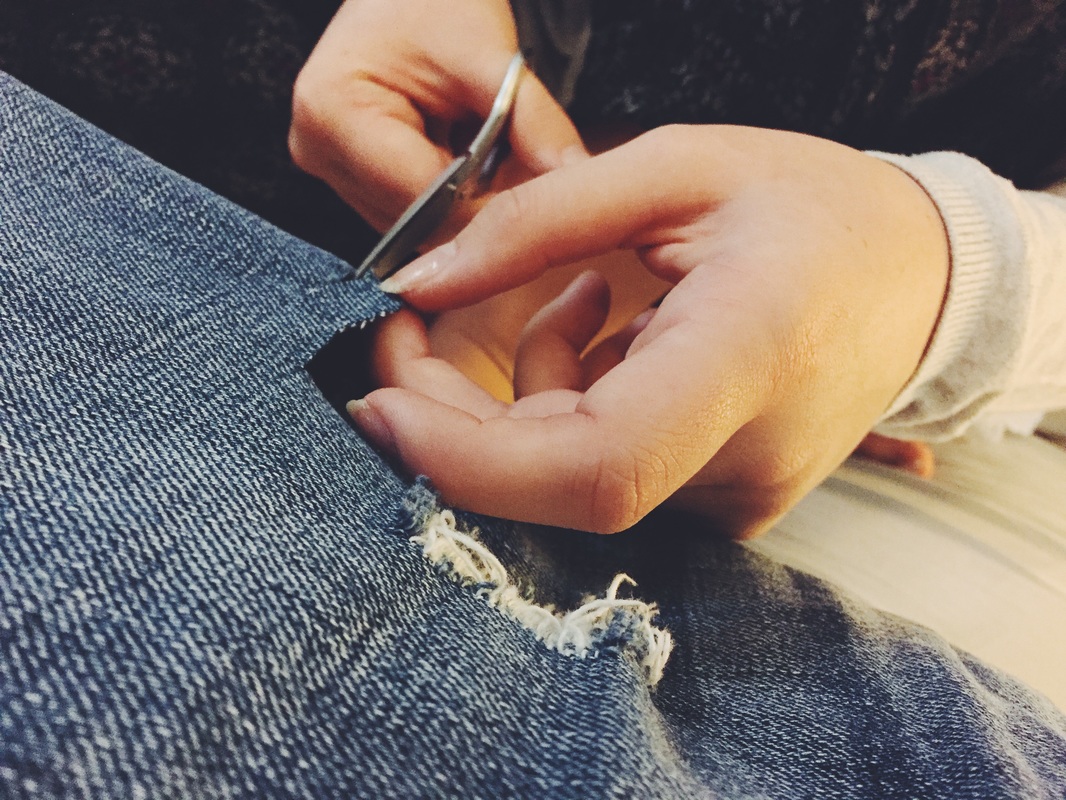 Step 3: Start cutting. Cut lines horizontally down the leg of your jeans... you want the cuts to be as straight as possibly across the leg because you don't want to cut the horizontal running threads. You can make these lines as far apart or as close together as you wish. Step 4: Once you are happy with the number of cuts you have made you can begin to pull out the vertical running threads with the tweezers as shown below. Make sure you pull out all of the vertical threads for the length you have cut. 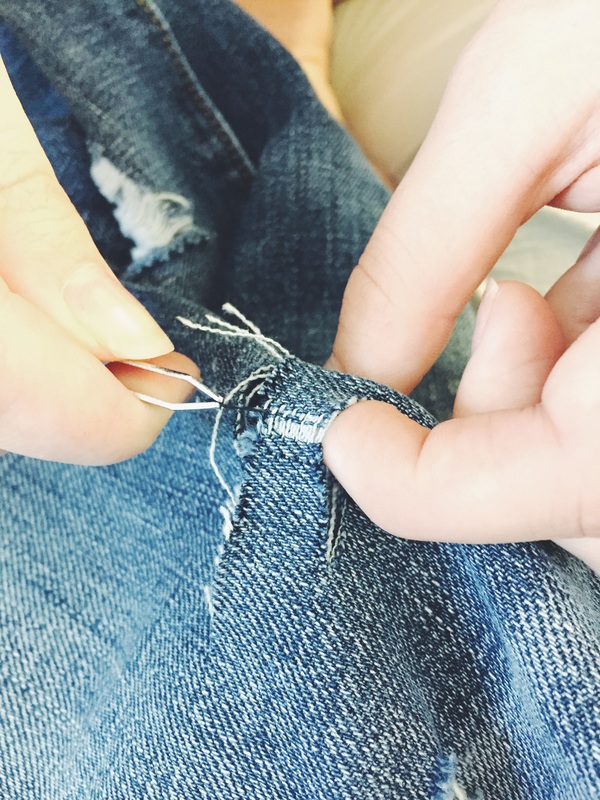 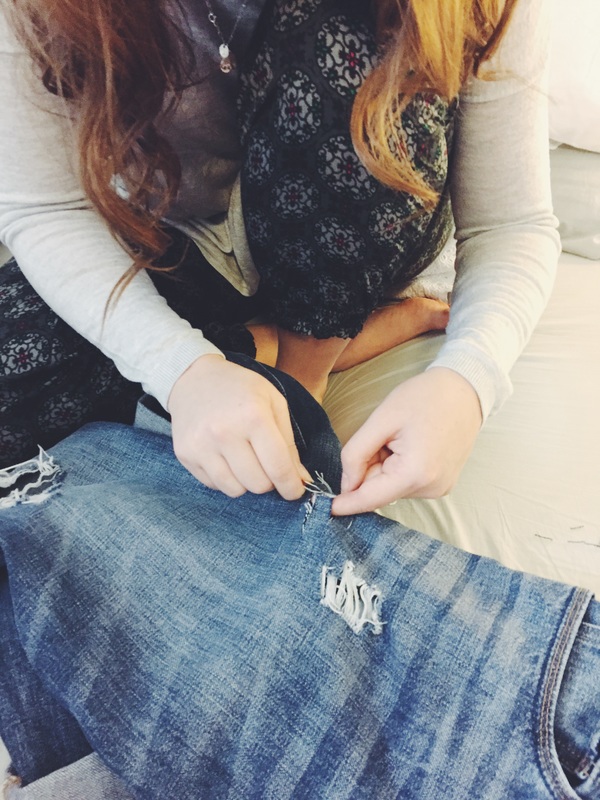 Step 5: Repeat step 4 for the entire group of cuts! Step 6: Repeat this for as many rips as you want on your jeans! Step 7: Put your jeans in the washing machine and dryer! You can tell the difference between a new cut and an old one in the picture below... old on the right and new on the left. The wash allows the threads to looks even more distressed and adds to the overall ripped look. 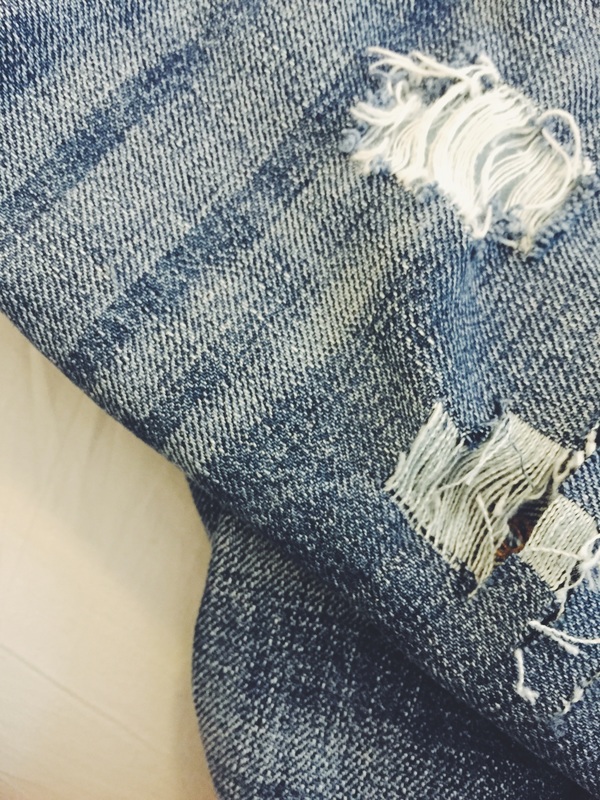 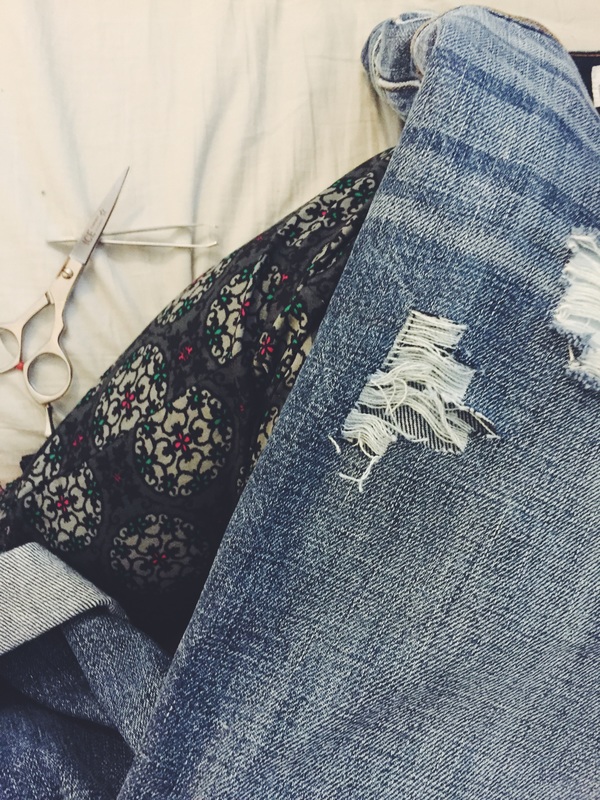  Step 8: Enjoy your jeans! xo
1 Comment
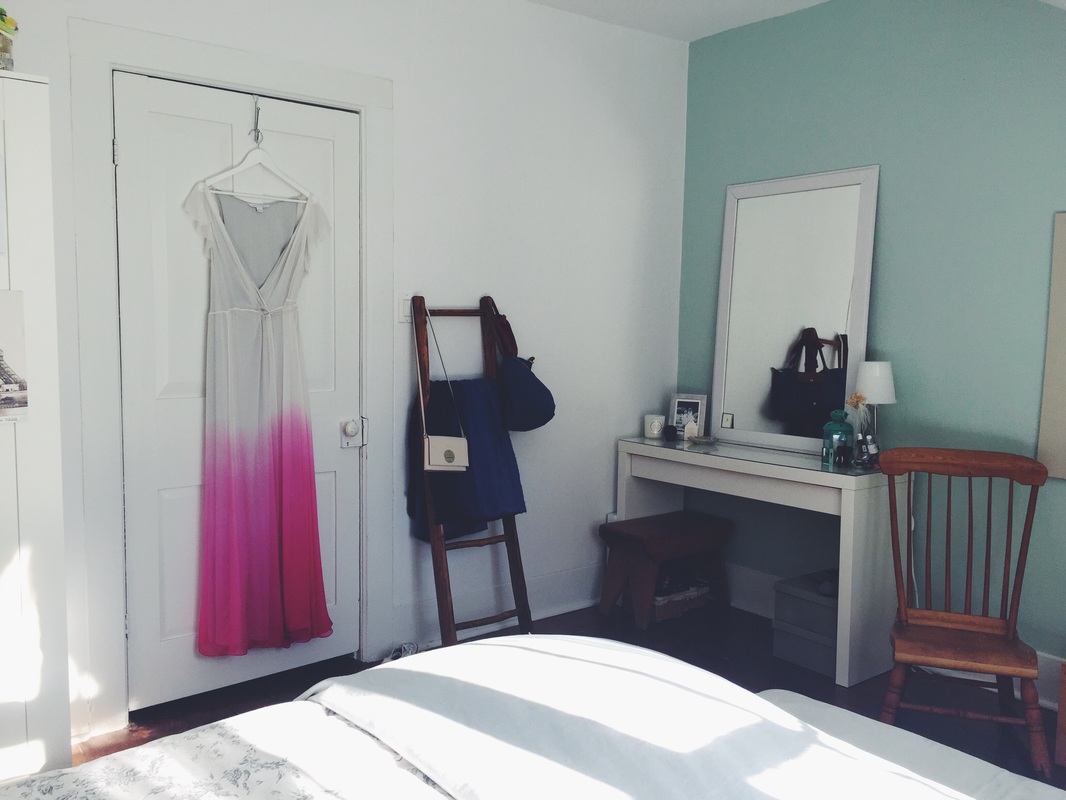
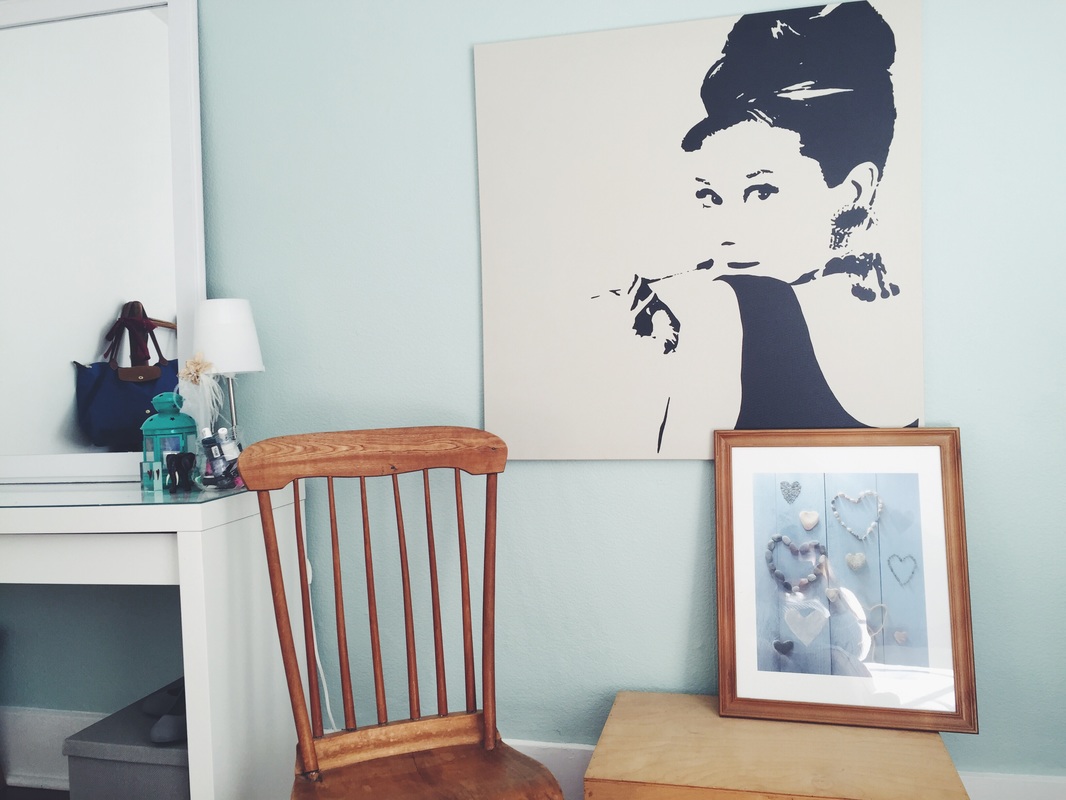
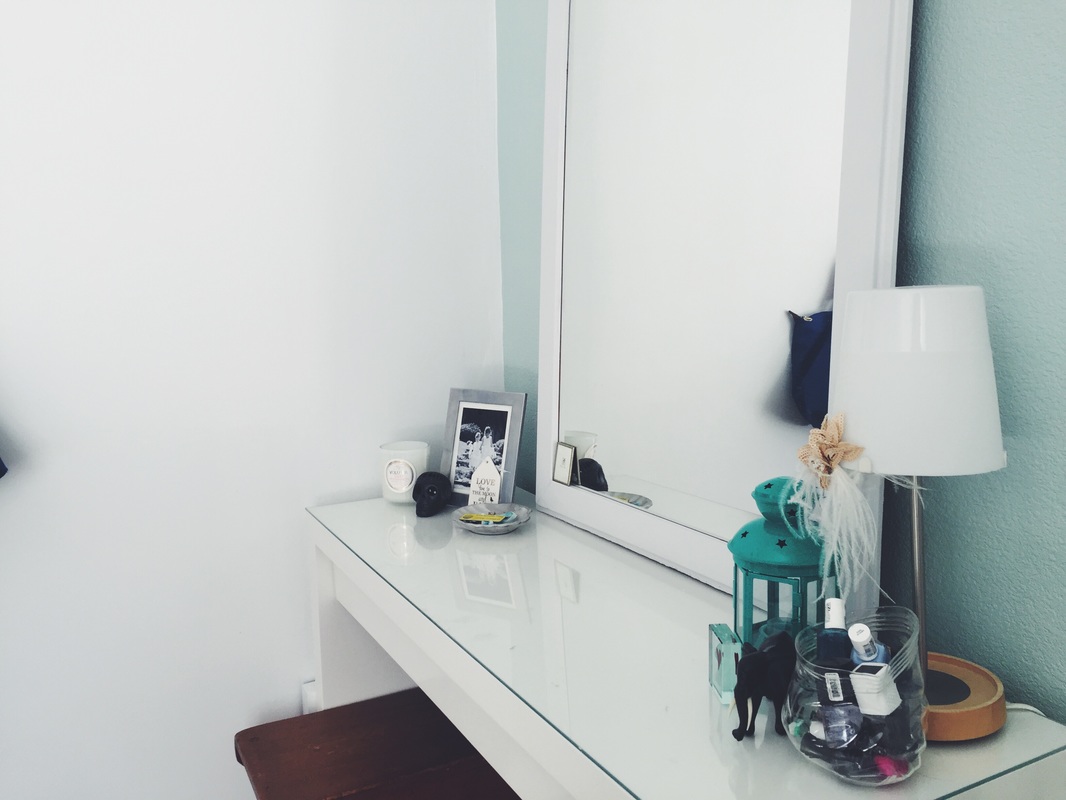
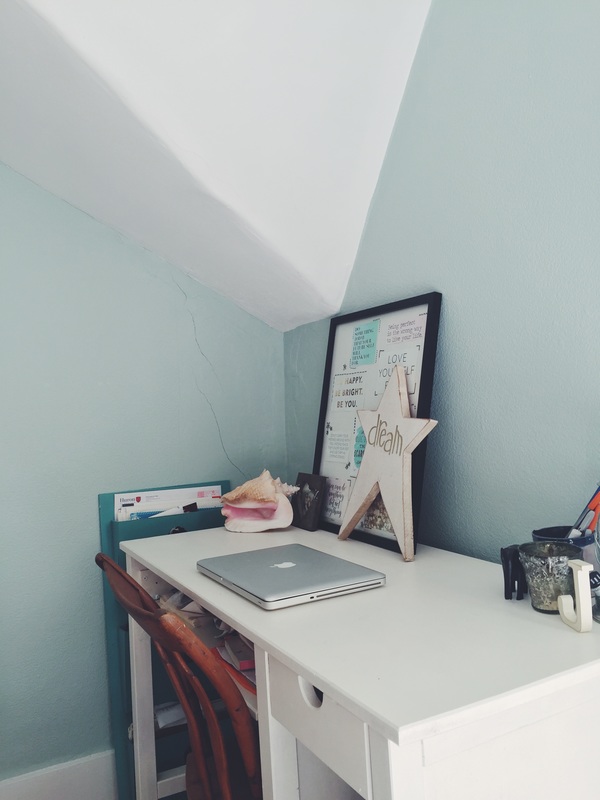
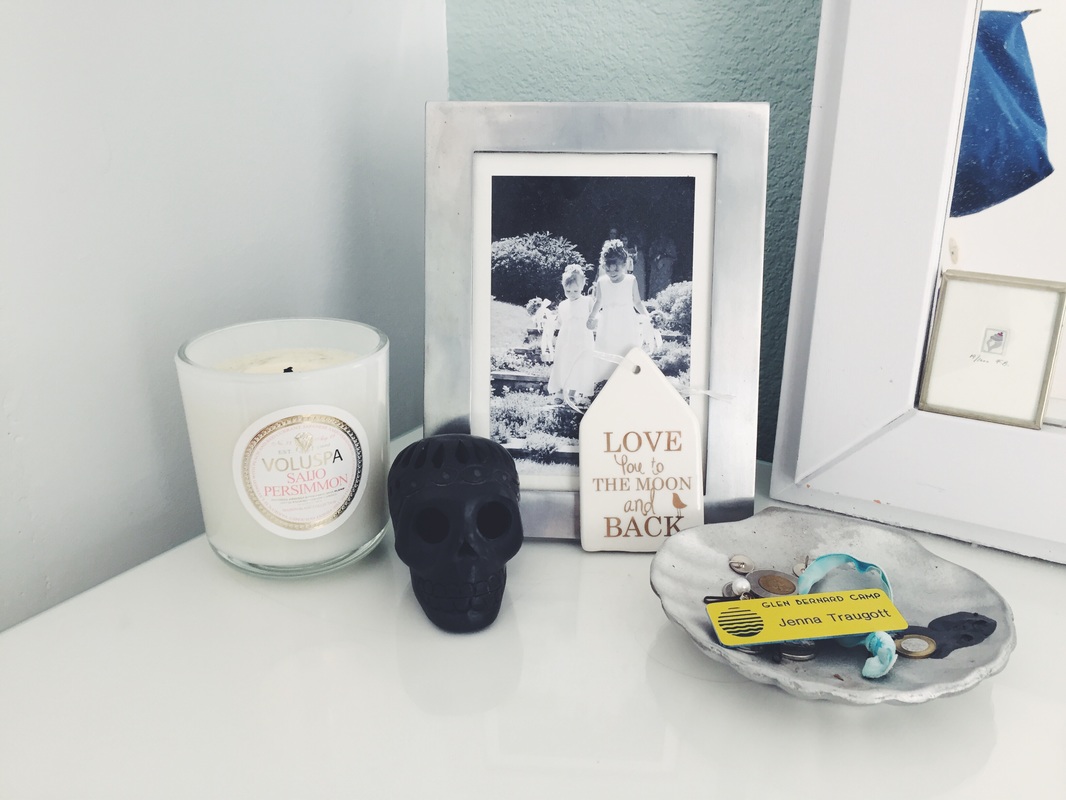
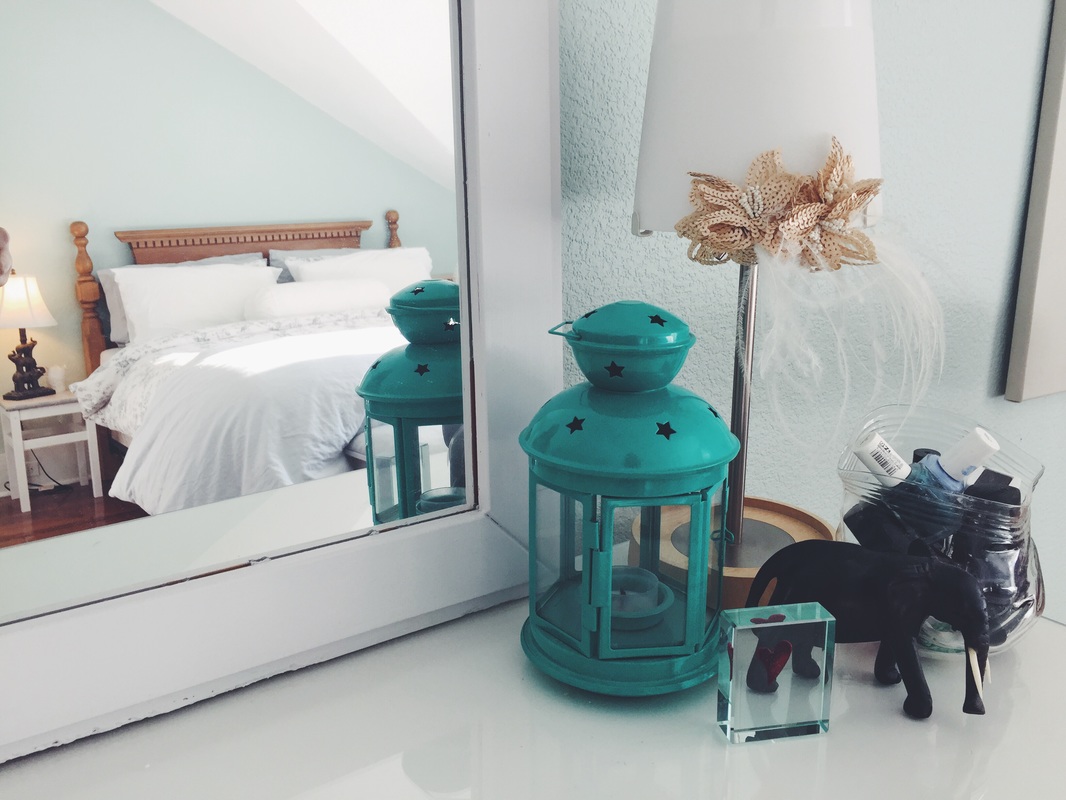
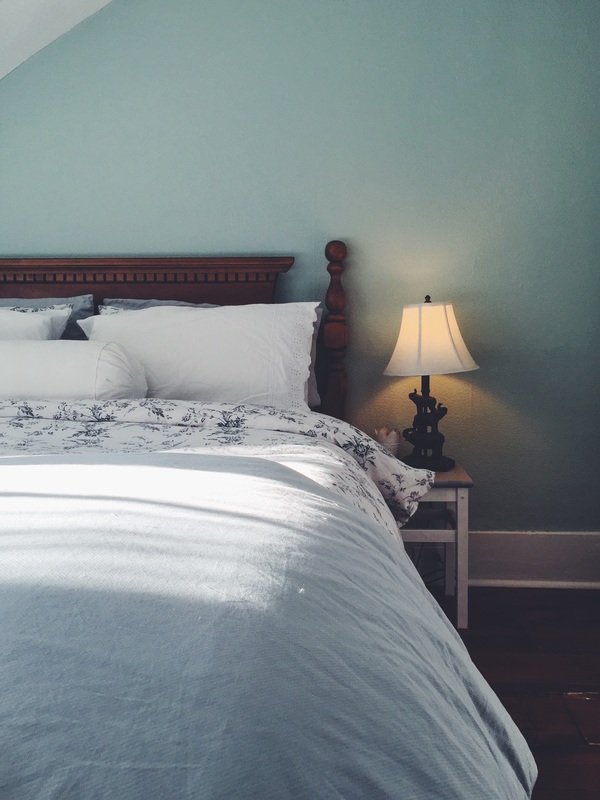 Its pretty easy to say that I love my bedroom at home! I grew up in the same bedroom, in the same house until we moved almost three years ago and I definitely took advantage of making this bedroom entirely mine. My bedroom growing up was pretty much what you expect from a child or young teenagers room! I had a loft bed for many years growing up (which I loved at the time), it was a colour that I picked out when I was younger and it didn't have a lot of design appeal. I loved it for what it was, and I still miss my old house and that room because it holds a lot of amazing memories! Though, I am so so happy to have had the opportunity to make this room what I wanted! 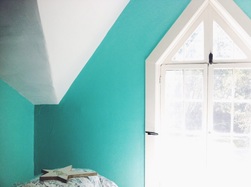 I knew I wanted a soft tiffany blue colour on my walls... but this was what I first picked out! Yikes! Definitely not what I wanted and I knew that immediately. So my mom and I went to the paint store the same day this colour was painted on my walls to pick out new paint, and the new colour was painted the next day! I am sooo happy with how my walls turned out in the end :) the colour is calming and soft and exactly what I need for my bedroom! We decided to only paint it on three walls to make the small room feel a bit brighter and bigger. 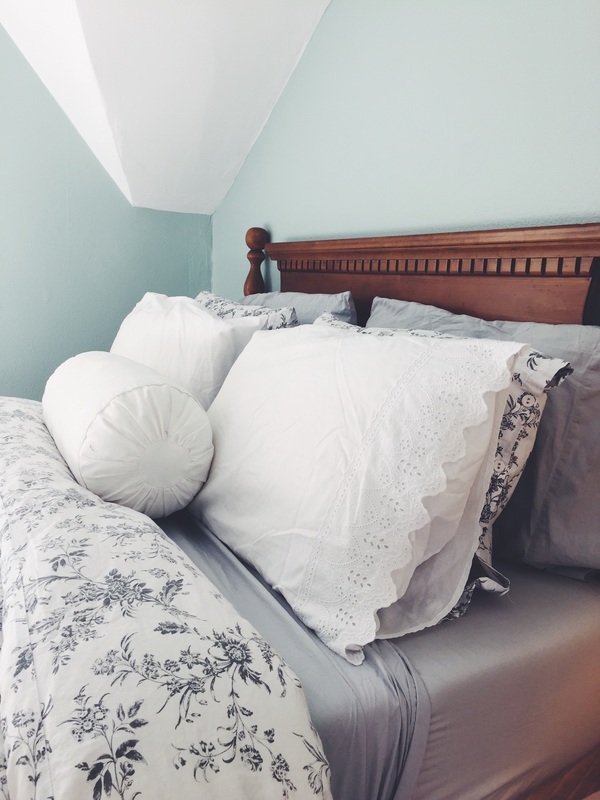  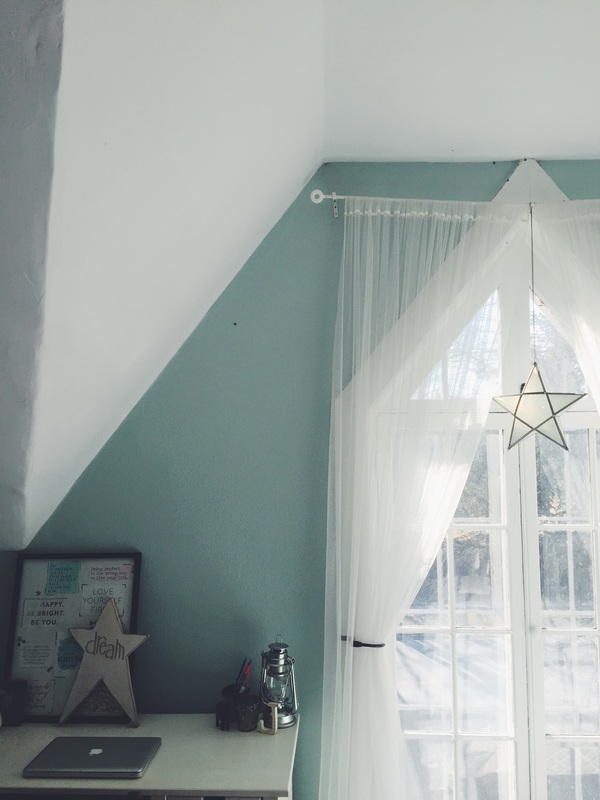 This huge window in my room adds so much character and light so I really wanted to make it a focus in the room! So I hung very sheer and light curtains to keep the room bright and to not add any weight to the window. I added this star lantern that actually hung in the kitchen at my old house! The window is without a doubt my favourite part of the room and Im so happy with it! 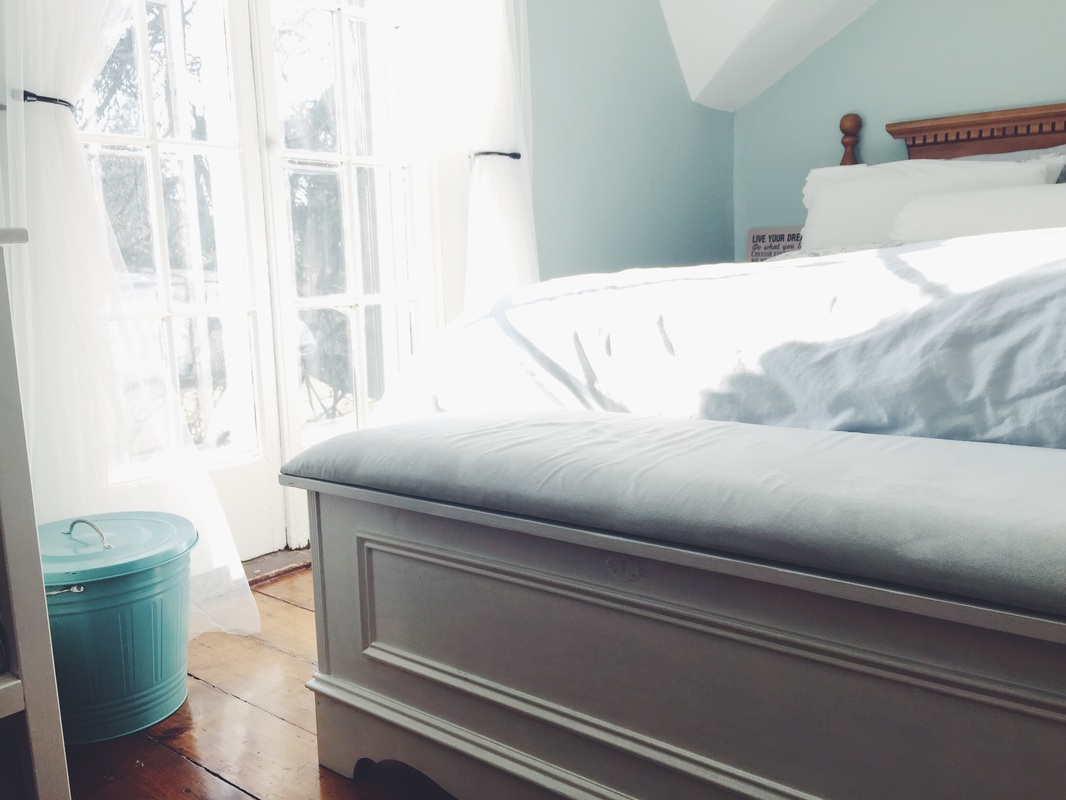 Many of the pieces in my bedroom are actually 'do it yourself' pieces. This sweater box used to be quite unattractive compared to what it is now. It had a light wooden base with a multi-coloured striped seat and overall it was just old looking. So I repainted the base and then unscrewed the seat and reupholstered the cushion with a light grey suede fabric. Overall a pretty easy fix and 100% worth it! I also repainted my mirror on the vanity, my desk and my side tables. The side tables were light wood before as well so I painted them white and then covered the tops in a grey striped fabric. 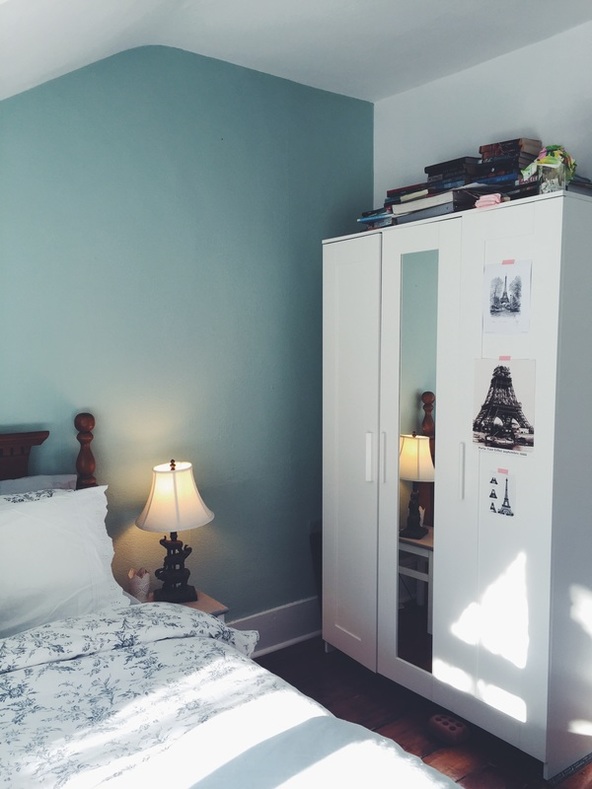 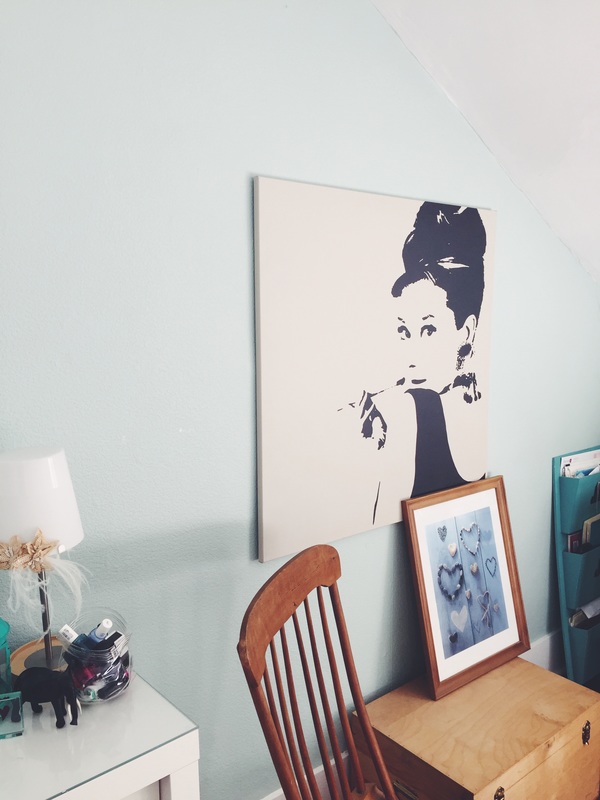 Overall my room is very light and airy with minimal colours and patterns. If you read my blog post about my dorm room at school you can easily tell that my strategies with both rooms was very different. I think both rooms reflect two sides of my interior style. My dorm room is more bohemian with lots of colour and prints, while my room at home is very clean, white and bright. I love both so I guess you will have to wait and see how I make my room next year my own! xo Happy 2016! I apologize for the lack of posting recently, things at school got busy and blogging unfortunately takes a back seat to actual schoolwork... But Im hoping to be posting frequently again so I hope you enjoy :)  So first semester recently ended and I am back at Queens and into the swing of university again! It was definitely difficult to adjust getting back to school but now that I am back, here are my tips on how to survive first semester of your first year of university!
Hope you enjoyed these tips! Happy second semester! xo
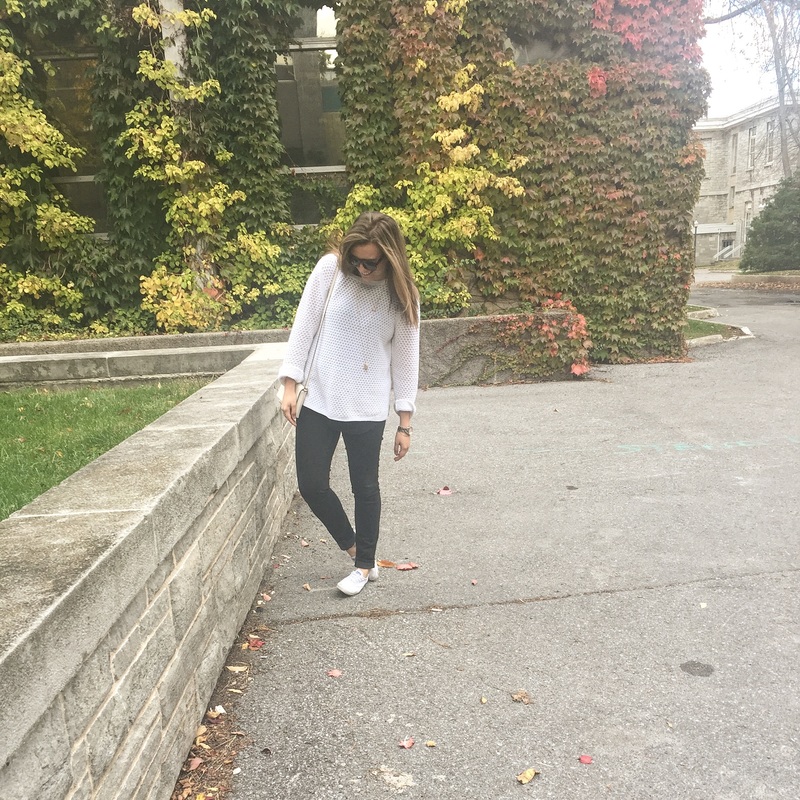
 Layering is the key to looking classy through any season! We have been given the best weather in Kingston and I am definitely taking advantage of the warm temperature and have been pulling out my dresses wherever I can. Here is how to layer through the fall in warm or cold weather, and some tips to looking amazing through any temperature! 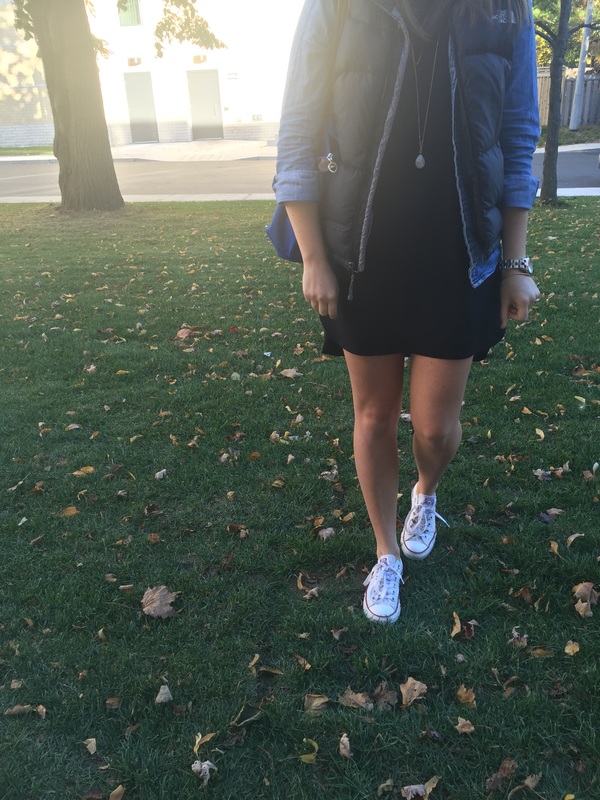
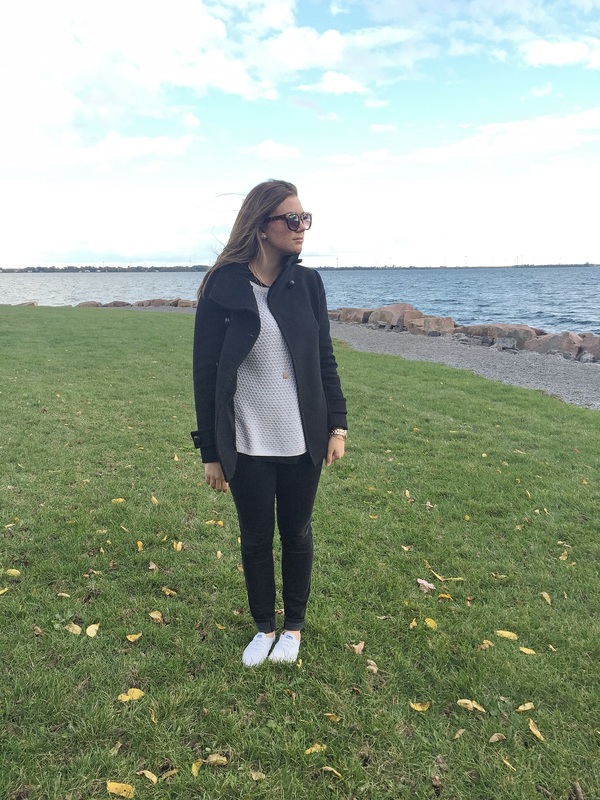

I am happy to be enjoying the warm weather while I can! Happy Layering! xo
Here is your Everyday Etiquette guide to writing a thank you card! 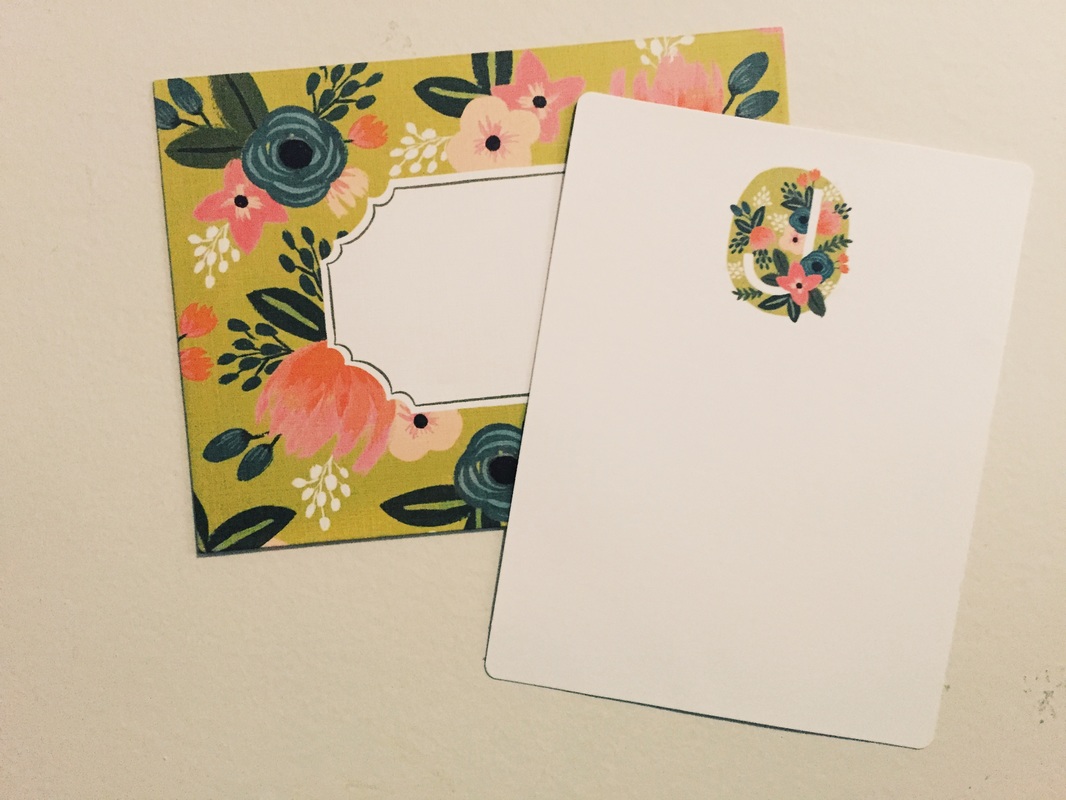 Thank you cards are a great, personal way to show your appreciation of someone or something! I am sure if you have ever received a thank you card you can understand the meaning behind one. It shows that you are appreciated and that someone had the thought to thank you in a more thoughtful way. Here are some of the reasons why you may want to send a thank you card yourself...
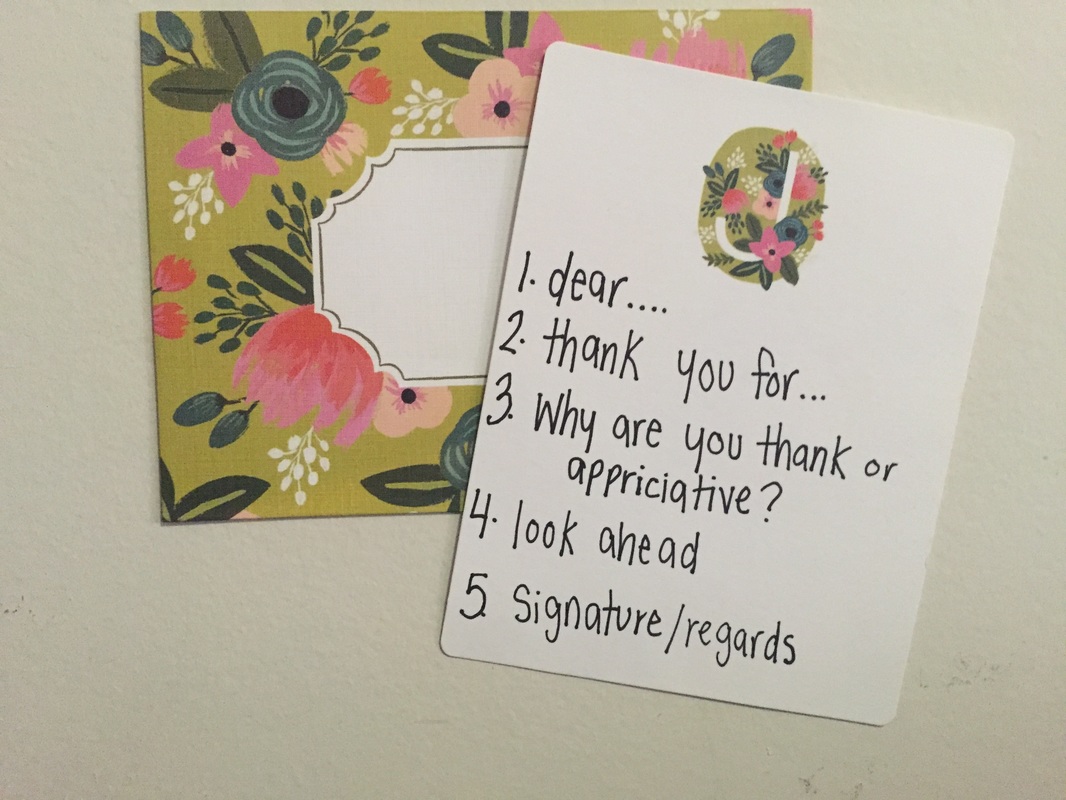 Here are the five steps to writing a thoughtful thank you card...
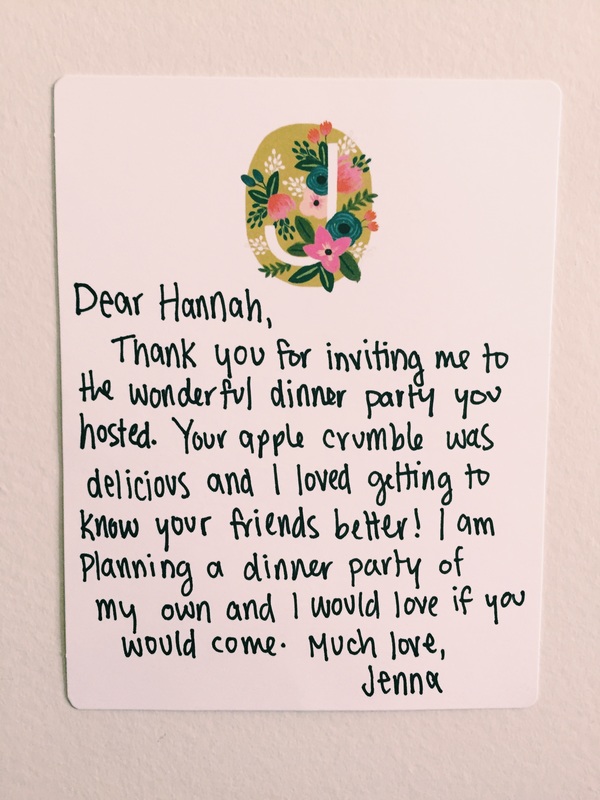 Try to get your thank you card in the mail or to the person receiving the note within a month of the interaction! This keeps it relevant and makes sure that it doesn't look like you forgot or were procrastinating. Below I have added some of my favourite thank you cards and stationary to get you started as well! Happy Writing! xo
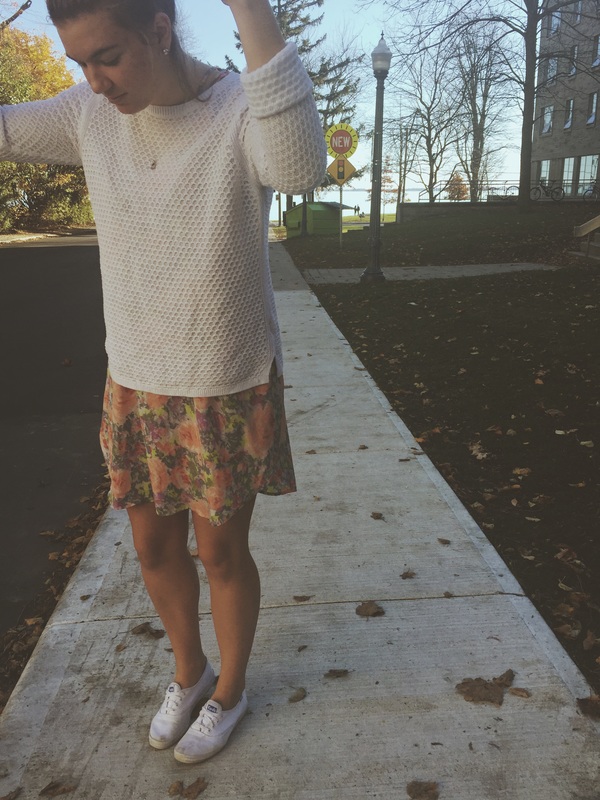
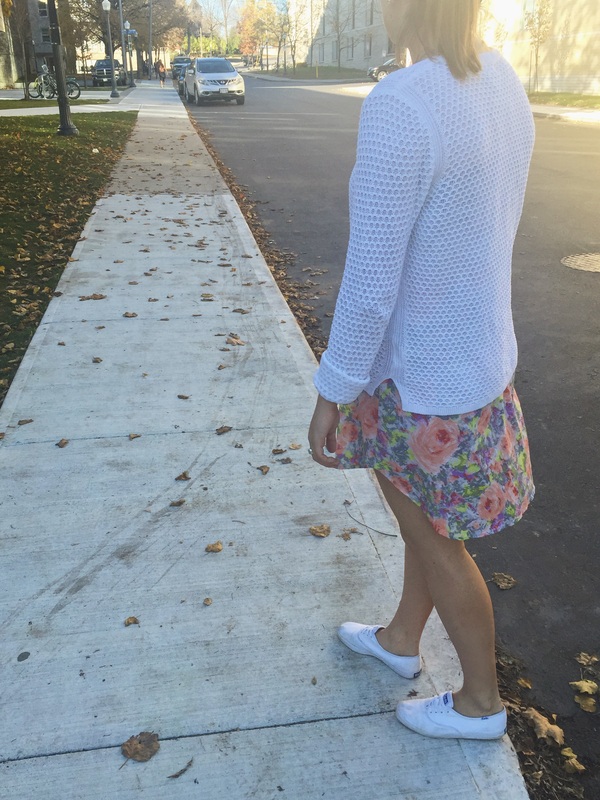
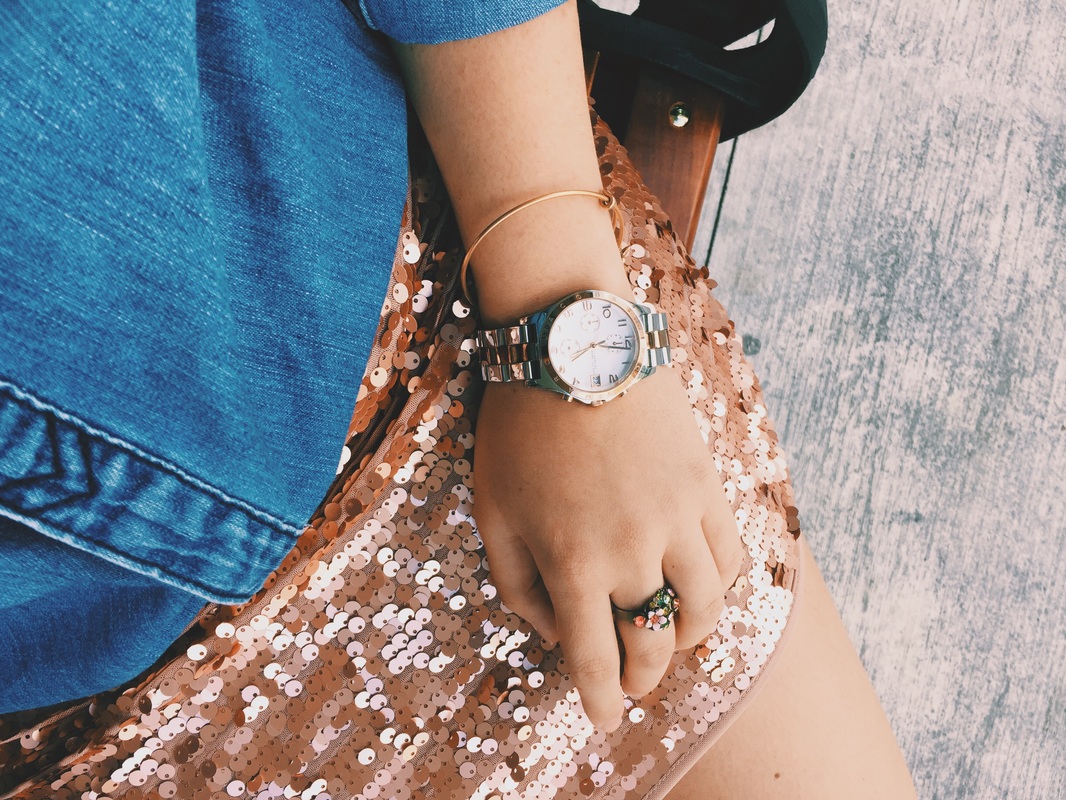
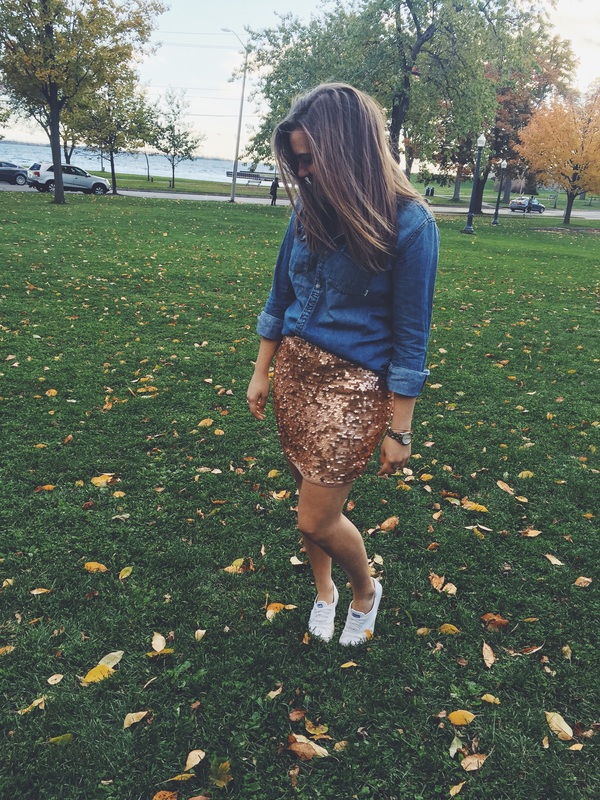
 This is what I call my Vegas skirt. It was definitely a purchase on a whim but I am so happy with it. You have to admit it is pretty fun. If you are wanting to learn how to style dressier pieces for everyday living this is your how to guide! 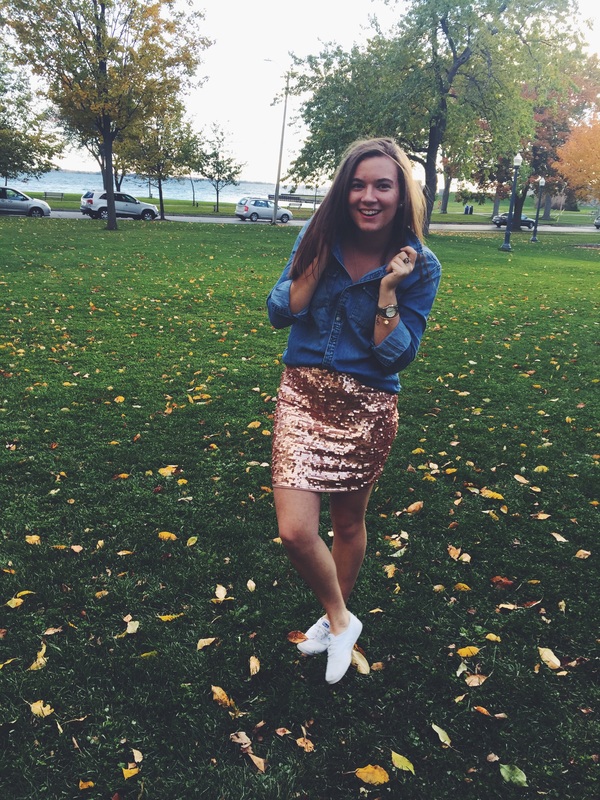 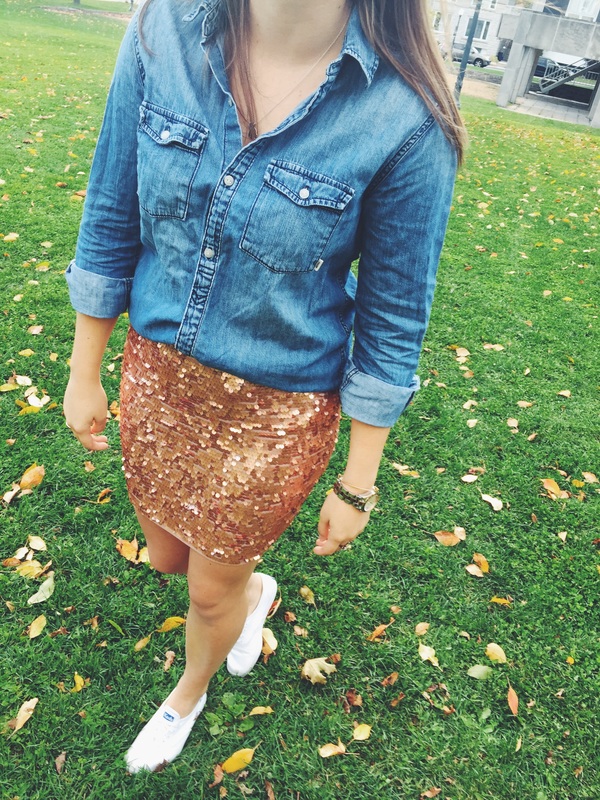 A couple steps on how to accomplish a casual outfit with a statement /dressy piece are...
  Homecoming is this weekend so get excited for more posts about the most talked about weekend of the year! |
Thought For The Day...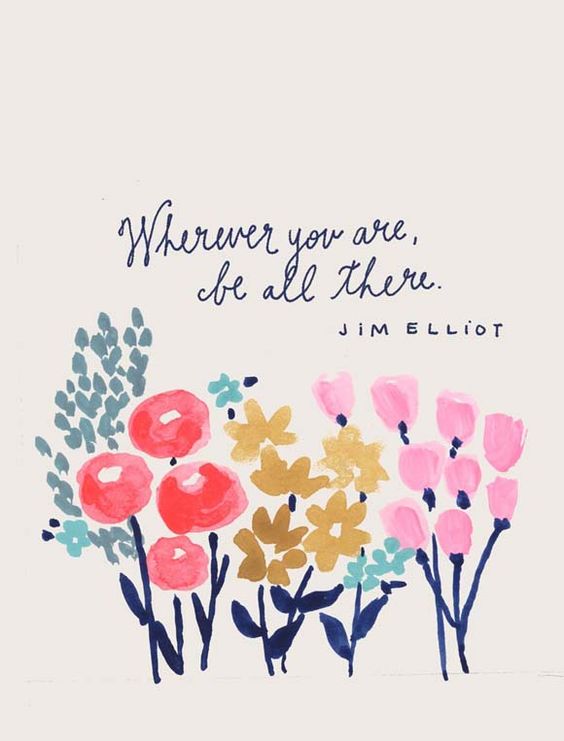
Jenna TraugottDaily dose of pretty details and inspirational looks. Queen's University student graduating in 2019. Archives
April 2017
Categories
All
|